# Creating Pages and Using the Master Template
## Creating a Contact Us Page
We are now going to create a page where we put our contact details. For added functionality, you might want to look at replacing this with a fully fledged contact us form.
Some potential solutions:
* If you're not a programmer you can use the Umbraco built-in package - Umbraco Forms. Umbraco Forms has the added benefit that editors can also create their own forms. Find more information and purchase the product on [Umbraco.com](https://umbraco.com/products/umbraco-forms/).
* Build your own contact form using [Surface Controllers](https://docs.umbraco.com/umbraco-cms/13.latest/fundamentals/code/creating-forms).
### Creating the Document Type and Template
Let's create a content-only contact page where we can provide a title and some rich text.
1. Go to **Settings**.
2. Select the **...** next to the **Document Types** in the **Settings** tree.
3. Select **Document Type with Template**. The Document Type opens in the content editor.
4. Select an **Icon** from the list of icons.
5. Enter a **Name**. Let's call it *Simple Content Page*.
6. Enter a Description.
7. Let's add two fields with the following specifications:
| Group | Field Name | Alias | Data Type |
| ------- | ---------- | --------- | ---------------- |
| Content | Page Title | pageTitle | Textstring |
| Content | Body Text | bodyText | Rich Text Editor |

8. Click **Save**.
9. Go to **Templates** to view your *Simple Content Page* template that was created automatically with the Document Type.
10. Select the **Simple Content Page** template and then select **Master** as the **Master template**.
11. Add the following HTML to the **Simple Content Page** template and click **Save**.
```html
Umbraco Support
Are you a developer?
Are you a marketer?
Are you working at an agency?
Let Umbraco unleash your talent
```
12. Click **Save**.
### Updating the Document Type Permissions
We now need to update the Document Type permissions to specifically add child nodes under the root content node.
To update the Document Type permissions:
1. Go to **Settings**.
2. Open the **Homepage** Document Type and go to the **Permissions** tab.
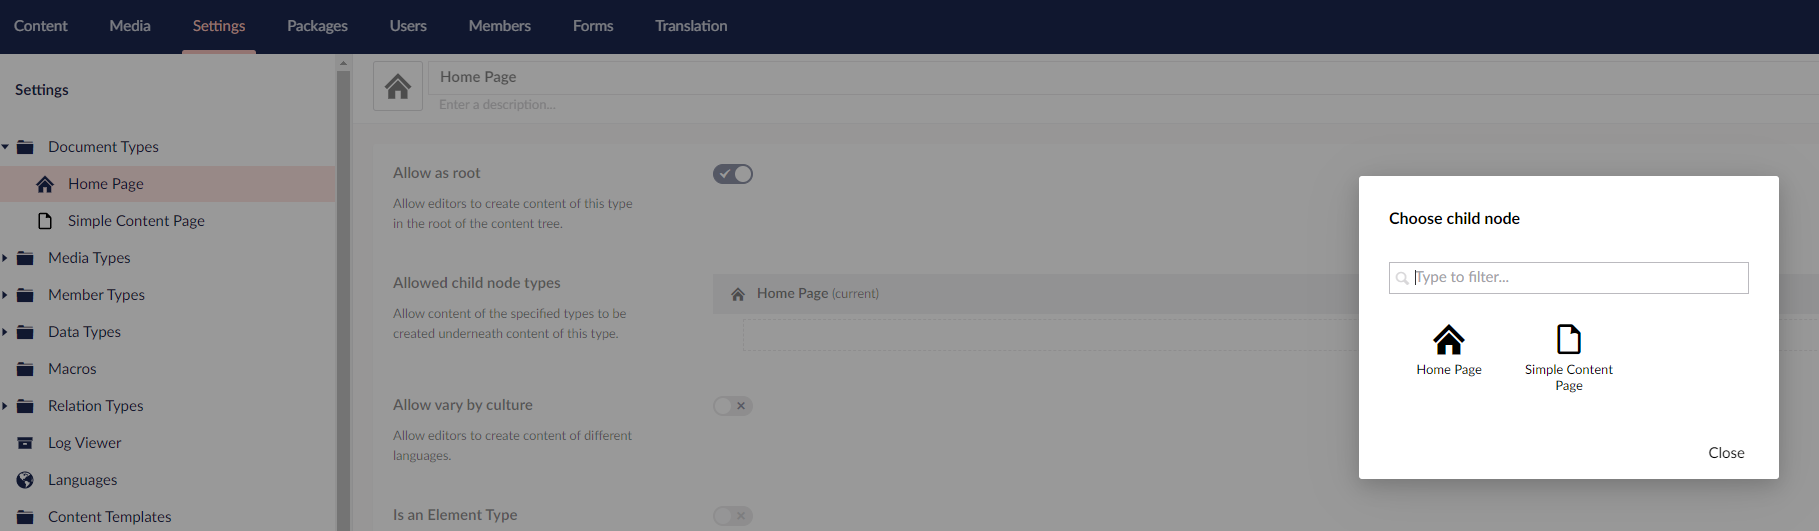
3. Select **Add child** in the **Allowed child node types**. The **Choose child node** dialog opens.
4. Select **Simple Content Page** and click **Save**.
### Creating the content node
To create a content node:
1. Go to **Content**.
2. Select **...** next to the **Homepage** and select **Simple Content Page**.
3. Enter a name for the Document Type. Let's call it *Contact Us*.
4. Fill in details for the **Page Title** and **Body Text**.
5. Click **Save and Publish**.
### Adding the Document Type Properties
To add the Document Type properties:
1. Go to **Settings**.
2. Select **Templates** from the **Templating** section.
3. Go to **Master** and open the **Simple Content Page** template.
4. Scroll to the `` (around line 8) section and highlight the text `“Umbraco Support”` (around line 11).
5. Click **Insert** and select **Value**.
6. Select the **pageTitle** field from the drop-down list and click **Submit**.
7. Repeat the same process for the `
` tag:
* Highlight the content from the `
` tag (around line 19) to the end of the `
` tag (around line 22).
* Click **Insert** and select **Value**.
* Select **bodyText** field from the drop-down list.
* Click **Submit**.
8. Click **Save**.
### Viewing the Contact Us Page
To view the **Contact Us** Page:
1. Go to **Content**.
2. Select the **Contact Us** page.
3. Go to the **Info** tab.
4. Click the link to view the page.
## Using Document Type Properties from the Homepage
You may notice that the footer is now empty - we don't have the content from our Homepage node.
To use the Document Type properties from the homepage, do the following:
1. Go to **Settings**.
2. Select **Templates** from the **Templating** section, and open the **Master** template.
3. Highlight `@Model.Value("footerText")` in the footer (around line 52) and click **Insert**.
4. Select **Value** and choose the **footerText** again from the **Choose field** dropdown.
5. Select **Yes, make it recursive** checkbox. This notifies Umbraco to look up the content tree if the field doesn't exist at the node level for the page we're requesting.
6. Click **Submit**.
7. Click **Save**.
Reload the *Contact Us* page to view the content with the footer.