Configuring Azure Key Vault
A guide for configuring Azure Key Vault
From a security perspective, storing your application secrets in Azure Key Vault is always a good solution. This could be a connection string or other keys.
This article tells you how to configure your application so it is ready to use a Key Vault.
Depending on your hosting situation there are a few approaches to incorporating Azure Key Vault into your application.
Install Key Vault via Nuget
Before you begin, you need to install the Azure.Extensions.AspNetCore.Configuration.Secrets and the Azure.Identity NuGet packages. There are two approaches to installing the packages:
Use your favorite Integrated Development Environment (IDE) and open up the NuGet Package Manager to search and install the packages
Use the command line to install the package
Installing through command line
Navigate to your project folder, which is the folder that contains your .csproj file. Now use the following dotnet add package command to install the packages:
dotnet add package Azure.Extensions.AspNetCore.Configuration.Secrets
dotnet add package Azure.IdentityConfiguration
You can find the database connection string under the ConnectionStrings:umbracoDbDSN section in the appsettings.json file. For more information, see the Connection strings settings article.
The next step is to add the Azure Key Vault endpoint to the appsettings.json file (or create as an Environment Variable). You can add this endpoint in the root or anywhere in the appsettings.json as long as it is resolved in the ConfigureAppConfiguration method.
After adding the endpoint in the appsettings, it's time to add configuration so that the KeyVault is used. One way to achieve this is to write an extension method for the WebApplicationBuilder:
After creating the extension method, it's possible to call it from the Program.cs class, like so:
Authentication
There are different ways to access the Azure Key Vault. It is important that the user you are logging in with has access to the Key Vault. You can assign roles using the Azure Portal.
Navigate to your Key Vault.
Select Access Control.
Select Add -> Add role assignment.
Select the preferred role.
Search for the user.
Click review + assign
Use Key Vault references for Azure App Service
Azure Web Apps offers the ability to directly reference Key Vault secrets as App Settings. The benefit of this is you can securely store your secrets in Key Vault without any code changes required in your application.
Create a System Assigned Managed Identity
To begin we first need to create a Managed Identity for the Azure Web App. This enables us to grant granular permissions to an identity representing the Web App.
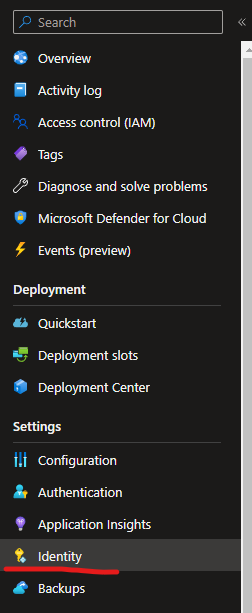
Head over to your Azure Web App and find Identity under Settings:
Under System assigned change the Status from Off to On.
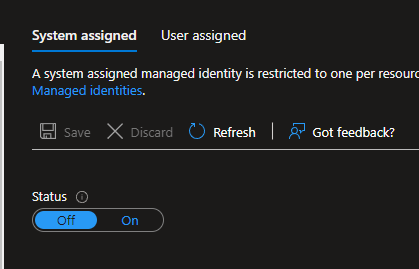
A GUID will then be generated called Object (principal) ID. Take note of this ID as we will need it further on.
Update your Key Vault Access Policy
It is assumed you already have a Key Vault set up with a few Umbraco secrets inside. In your Key Vault head to Access Policies.
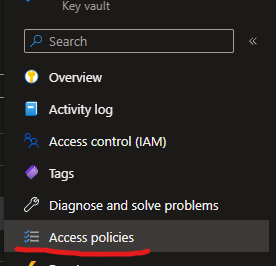
At the top select + Create. We are now going to add the System Managed Identity for the Web App to Key Vault.

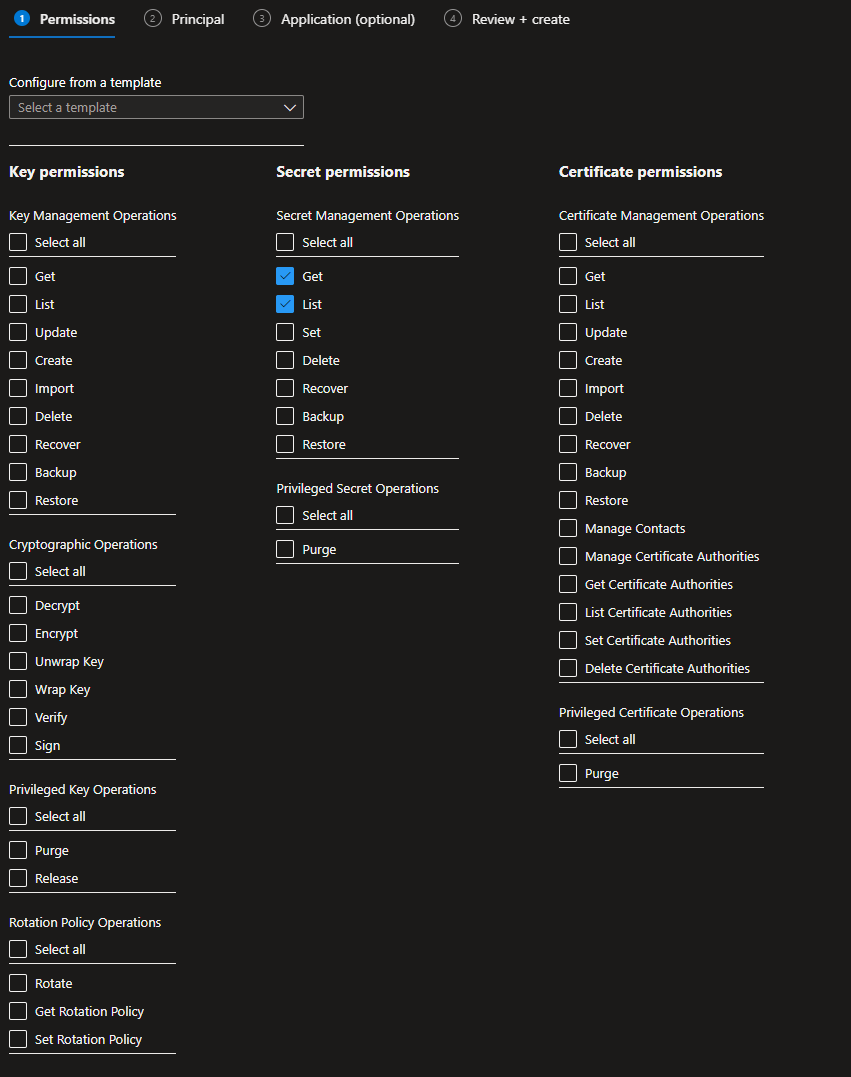
You will now be presented with different permissions to set for your Web App. You only need Get and List for Secret Permissions only. Click Next to continue:
Enter the GUID you took note of earlier, into the Search Box. You will see your Web App listed.

Click your Web App to Select and click Next and then Create:
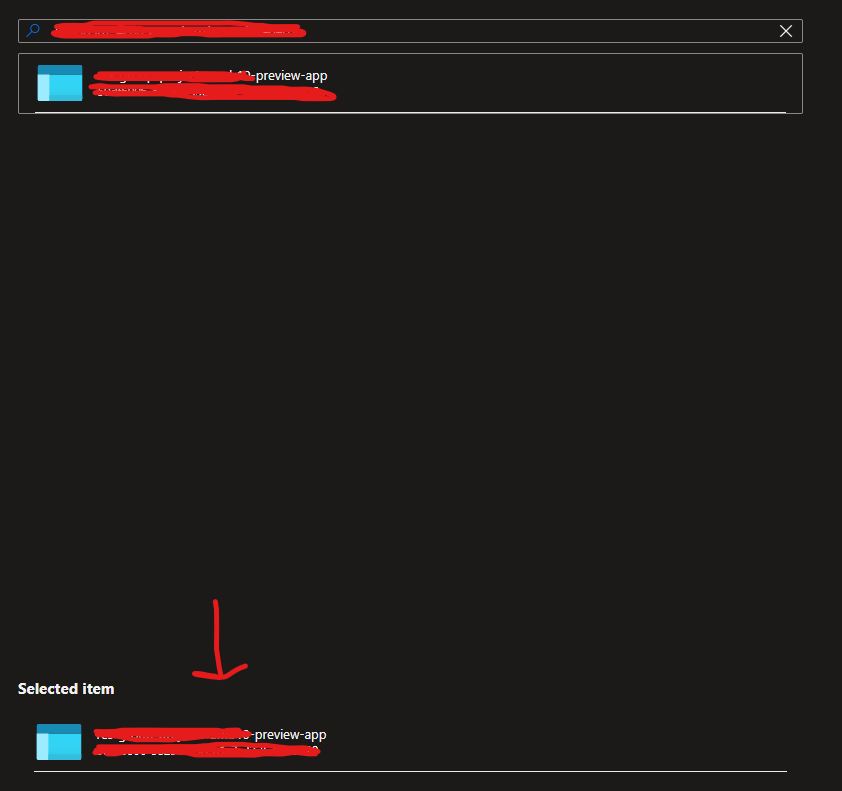
If you visit the Access Policies section again you should now see your web app in the list and its permissions:

Link our Key Vault Secret to an Azure Web App
In your Azure Web App head to Configuration under Settings.
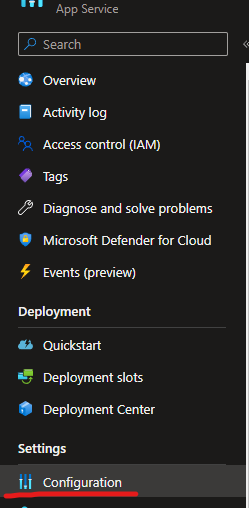
Here we can add App Settings and Connection Strings to the environment.
Let us start off with the Umbraco Database Connection String.
Under Connection Strings, select Advanced Edit.

Once you click on "Advanced Edit" a new window will open up. There you will need to paste in the following JSON Object inside the square brackets. Ensure you update {keyvault-name}, {secret-name} and {version-id}.
You can obtain the Secret Uri by visiting the specific version of your secret and copying the Url:
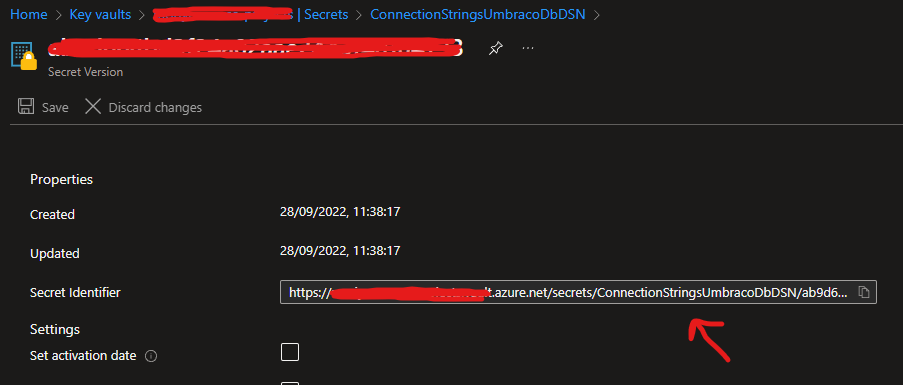
The ID is optional but recommended as it enables you to control which version of the secret is used at your discretion. Leave it out if you always want the Web App to pull the latest version of the secret.
Wait a moment and refresh the screen. You should see a Green tick. If you do not have a Green tick you need to review your Access Policies in the previous step.

We will perform the same approach for our App Settings. We will be updating the following App Settings for Azure Blob Storage.
Due to the secrets being nested we need to use double underscore __ to correctly reference the value on our Web App.
On the Web App select Advanced Edit for Application Settings:
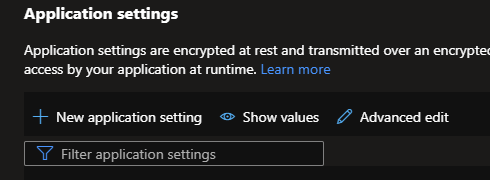
When clicking on "Advanced Edit", a new window will open up. There you will need to paste in the following JSON Objects inside the square brackets. Ensure you update {keyvault-name}, {secret-name} and {version-id}.
The ID is optional but recommended as it enables you to control which version of the secret is used at your discretion. Leave it out if you always want the Web App to pull the latest version of the secret.
Wait a moment and refresh the screen. You should see Green ticks for both values. If you do not have a Green tick you need to review your Access Policies in the previous step.

Local Development
Staging/Production
Last updated
Was this helpful?